






Preparing Homes for New Heaters
Preparing Homes for New Heaters starts with a clear plan and a handful of practical steps that cut downtime and avoid unexpected costs. Whether a household is replacing an old tank unit or upgrading to a tankless model the same core preparations apply. This article walks through what to check before the technician arrives and what to arrange after the swap so the job goes smoothly.
Good preparation saves time and reduces risk. Homeowners who follow a short checklist can reduce mess in the mechanical space keep utility interruptions brief and confirm the installation meets local code. Below are actionable tips for homeowners and property managers who want a safe efficient heater swap with predictable outcomes.
Plan the Project around Access and Space Needs for Preparing Homes for New Heaters
Before any equipment is ordered check the planned location for the new heater. Old units are often boxed into closets basements or tight utility rooms. New units may have different clearances venting or service access needs. A handful of measurements at the outset clarifies whether the replacement will fit without extra construction work.
- Measure width height and depth of the available space and the distance to doors and hallways.
- Confirm all doors and passageways will accommodate the unit and any required packaging or lifting gear.
- Note nearby obstructions such as furnaces laundry machines or shelving that may need temporary relocation.
Allow extra room around the unit for maintenance. Technicians need space to reach valves controls and vent connections. If access is tight discuss a temporary removal of non structural shelving or a brief window of furniture adjustment before the arrival time.
Check Gas and Electrical Requirements to Avoid Delays
One of the most common reasons a heater replacement stalls is a mismatch between the unit and the existing supply lines. Confirming both the type of fuel and the size of electrical feeding circuits avoids surprises on the day of installation.
Gas Supply and Venting
If you are replacing a gas tank or tankless heater confirm the meter and gas line capacity will support the new model. Some high output tankless units need a larger gas feed or a second regulator. A licensed professional can measure gas pressure and recommend whether a line upgrade is needed. Also check venting. Modern units may require different vent materials or termination points than older equipment.
Electrical Connections
Electric models and many tankless gas units need dedicated circuits. Check your circuit breaker panel for spare capacity and for properly sized breakers. If panel upgrades are required coordinate timing with a licensed electrician because this work may need an inspection before the heater can be energized.
Prepared Plumbing Work and Water Supply Considerations
Plumbing layout affects how long the swap takes and whether extra parts are needed. Inspect existing piping for corrosion scale buildup or non standard fittings. If the supply lines are older copper or galvanized piping there may be a benefit to replacing segments or adding new shutoff valves to simplify future maintenance.
- Turn off the main water supply and run all faucets to drain excess pressure before the removal.
- Label hot and cold lines if multiple branches are present this saves time during reconnections.
- Consider adding isolation valves on both supply and output lines to make future servicing faster and less messy.
If you plan to swap to a tankless unit remember that flow rates matter. A tankless heater requires a minimum flow to activate and deliver hot water. Verify your typical fixture use meets that requirement. If not consider flow boosting devices or choose a unit sized for your peak demand patterns.
Prepare the Old Heater for Safe Removal
Removing the existing heater is the most disruptive part of the job. A few pre removal tasks make the process faster and reduce the risk of leaks or spills.
- Drain the tank fully into a bucket or floor drain while wearing gloves and eye protection.
- Turn off gas or electricity and label the shutoff source for the technician.
- Disconnect auxiliary components such as water softeners expansion tanks or recirculation pumps if present.
For tanks with heavy sediment or corrosion a controlled removal helps avoid clogging drains or staining floors. Place protective coverings on floors and nearby surfaces and consider moving valuables and stored items out of the work area.
Permit and Code Checklist Homeowners Often Overlook
Local building codes frequently require permits for gas line changes water heater replacements and electrical work. Verify permit needs early. Scheduling can be affected if an inspector must visit before or after installation. If you skip this step you may face delays fines or issues when selling the property.
- Contact the local building department to learn permit requirements and expected timelines.
- Ask your chosen contractor whether they handle permitting as part of their service package.
- Keep copies of permits and inspection reports in a file for future reference.
Some contractors include permit handling in their offerings. If you decide to use a licensed service ask for a written scope that lists who will apply for permits who will schedule inspections and how warranty coverage is affected by permits and inspections.
Protecting Your Home and Minimizing Mess
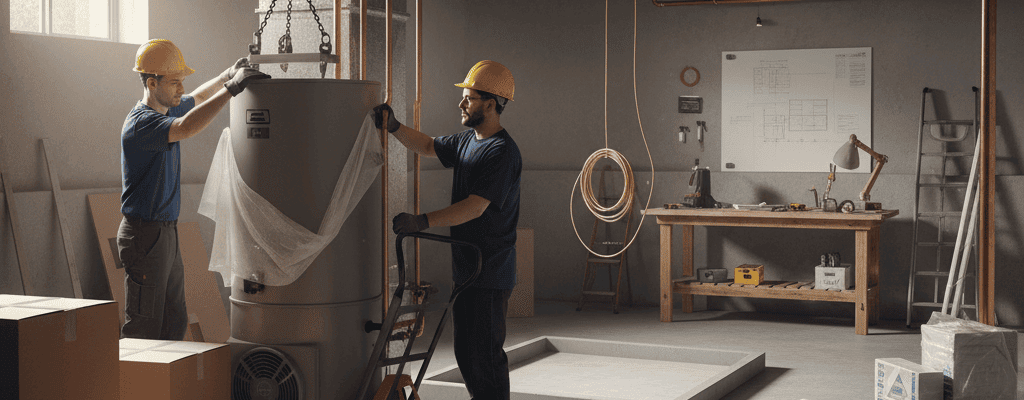
Even a well executed swap creates dust and water splash. Clear a path from the driveway to the work area. Remove small decorative items from nearby shelving and cover floors with drop cloths. If the team needs to bring in ladders or hoists reserve parking close to the entry and clear a staging area for tools and new parts.
- Use towels or plastic sheeting to protect floors and carpeting during the lift and removal process.
- Plan for a short period of noise and utility interruption and let household members know timing in advance.
- Keep pets and young children in a separate area while work is underway for safety.
Testing and Final Checks after Installation
When the technician finishes the installation ask for a demonstration of the system operation. That walk through should include checking for leaks proper venting ignition sequence and thermostat controls. If the unit is gas fired confirm carbon monoxide detection is in place and functional.
Functional Tests to Request
- Hot water delivery times at commonly used fixtures.
- Gas pressure readings and a combustion safety report where applicable.
- Electrical load checks on new circuits and breaker sizing confirmation.
Documentation and Maintenance Tips
Get a copy of manufacturer warranty information and any installer warranty documentation. Ask the installer for a recommended maintenance schedule for flushing or cleaning filters and for what to do if you detect leaks or unusual noises. Routine small steps like annual flushing of sediment can extend the working life of a tank styled heater and maintain performance for tankless systems.
When to Hire a Professional and What to Expect
Replacing a heater involves gas plumbing and often electricity. For safety and code compliance most homeowners choose a licensed service. A professional can verify sizing recommend upgrades and coordinate permits and inspections. If you prefer to have a pro perform the full job ask for references and proof of licensing and insurance.
For customers looking for a local provider consider contacting water heater installation services for a site assessment and a written estimate. A reputable provider will list what is included in the price show permit handling options and provide a clear timeline for arrival removal and post installation testing.
Common Mistakes to Avoid When Preparing Homes for New Heaters
- Waiting until the old unit fails completely. Scheduling ahead reduces emergency fees and rushed decisions.
- Assuming electrical or gas capacity is adequate without a professional check.
- Neglecting to clear the work area which can add hours to the job and increase cost.
- Skipping permits which can cause problems with resale or insurance claims later.
Take a few hours to review the checklist and confirm measurements and supply capacities. Small preparations now translate into lower labor costs and faster completion on installation day.
Conclusion
Preparing Homes for New Heaters is mostly about planning communication and a short set of physical checks. Measure the space verify gas and electrical capacities inspect existing plumbing and arrange for required permits. Protect floors and belongings and plan for a brief period of noise and utility interruption. Once the unit is installed request functional tests documentation and a recommended maintenance plan to keep the system running reliably.
If you follow the steps in this article you will reduce surprises on the day of service and shorten the time your household spends without hot water. Take a few photos of the current setup measure passageways and collect appliance manuals before the installer arrives. If you prefer to hire a licensed specialist seek references and confirm the service will handle permits and inspection scheduling. A clear plan keeps the project on schedule and gives you the confidence that the new heater will operate safely and deliver the comfort expected. Call a professional today to schedule an assessment and move forward with a smooth replacement process.


